 how-to
How to Self-Administer B12 Injections Safely
Table of Contents
- Before You Start: Confirm Your Prescription and Supplies
- How to Prepare a B12 Injection
- Choosing and Preparing Your B12 Injection Sites
- How to Self-Administer the Injection
- B12 Injection Side Effects and When to Seek Help
- How to Dispose of Needles After an Injection
- Storage, Safety, and Common Mistakes to Avoid
- Frequently Asked Questions
Last Updated: October 9, 2026
Before You Start: Confirm Your Prescription and Supplies
Before you self administer B12 injections, verify three things with your doctor: the exact dose, the injection route (intramuscular or subcutaneous), and your schedule.
B12 injections come in different formulations, cyanocobalamin is most common, though some receive methylcobalamin. Your prescription specifies which you need.
Gather your supplies before starting:
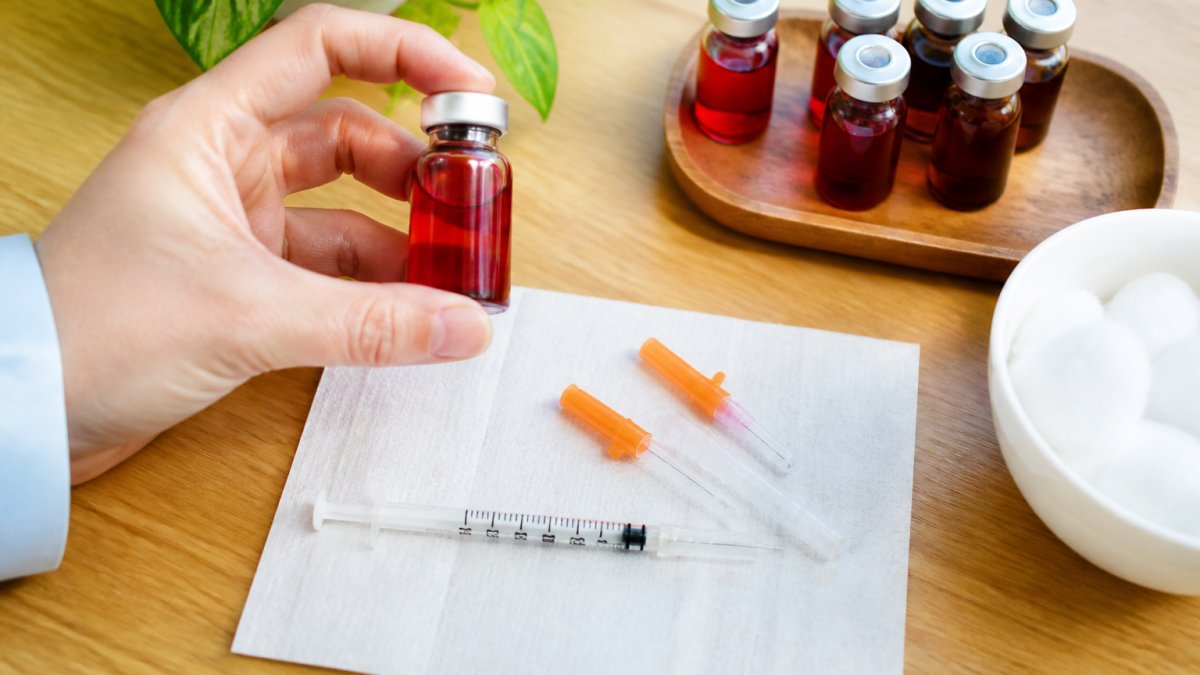
- B12 vial with the prescribed dose
- Sterile syringes (usually 1 mL for B12)
- Sterile needles (gauge and length depend on injection type)
Buy-Otc.com carries B12 shots, syringes, and needles. Check that all items arrive sealed and undamaged.
How to Prepare a B12 Injection
Preparing your injection correctly prevents contamination and ensures you get the full dose. Start in a clean, well-lit space. Wash your hands thoroughly with soap and warm water for at least 20 seconds (the CDC).
Handwashing and Sanitizing the Vial Stopper
Hand hygiene is your first defense against infection. Dry your hands completely, since moisture can reintroduce bacteria.
Clean the rubber stopper with an alcohol swab using firm, circular motions for about 30 seconds, then let it air dry completely. Do not blow on or touch it after cleaning.
Drawing Medication Into the Syringe
Pull the plunger back to draw in air equal to your B12 dose. This equalizes pressure inside the vial and makes drawing medication easier.
Flip the vial upside down while keeping the needle inside. Pull the plunger slowly to draw the prescribed dose, watching the syringe barrel's measurement markings.
Draw slightly more than you need, then push a small amount back into the vial to reach your exact dose, removing air bubbles that reduce the amount of medication you actually inject.
Remove the needle from the vial. If you see air bubbles, tap the barrel gently and push the air back into the vial until only medication remains.
Choosing and Preparing Your B12 Injection Sites
Where you inject affects how quickly your body absorbs B12. Rotating sites prevents tissue damage and soreness.
Common Injection Site Locations
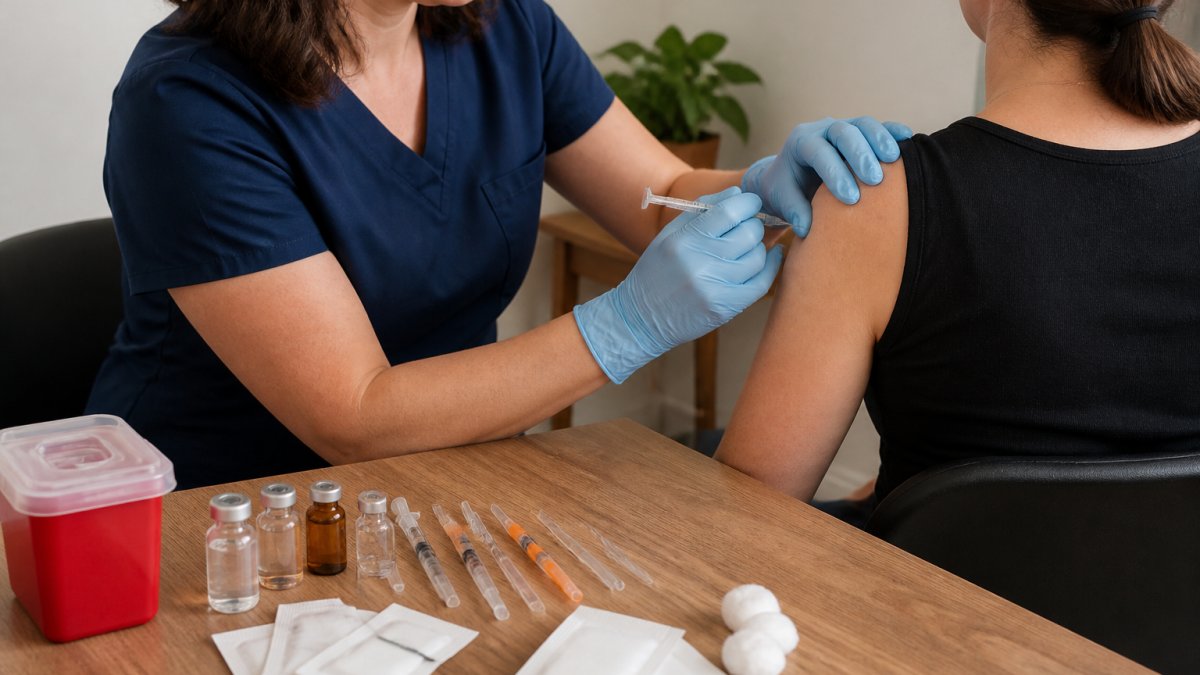
Deltoid (shoulder). This outer upper arm muscle works well for intramuscular injections.
Vastus lateralis (outer thigh). This large outer-thigh muscle is easy to locate and has fewer nerves than other sites.
Gluteus maximus (buttocks). The upper outer buttocks is a deep muscle suitable for intramuscular injection, though some people need a partner's help to reach it.
Ask your doctor which site works best for your prescription and comfort level.
Rotating Sites and Cleaning Skin
Rotating injection sites prevents lipohypertrophy (thickened tissue) and ensures consistent absorption. Injecting the same spot every time can make that area less responsive to medication.
Create a rotation pattern, for example, left deltoid one week, right deltoid the next, then your thigh, to spread injections across different areas.
Clean your injection site with an alcohol swab using firm, circular motions for 30 seconds, then let the skin air dry completely.
How to Self-Administer the Injection
Intramuscular vs. Subcutaneous Injection
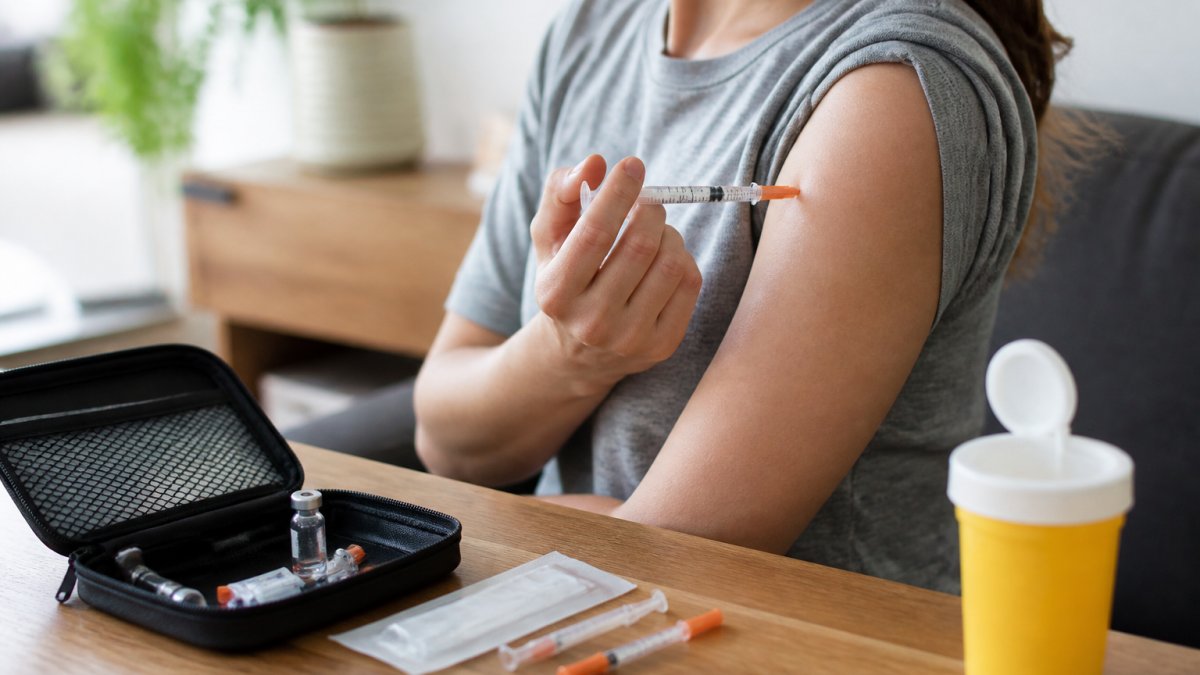
Your prescription specifies the injection route. Intramuscular (IM) injection places the needle deep into muscle tissue, where B12 absorbs quickly into the bloodstream. Most B12 injections are intramuscular.
Subcutaneous injection places the needle into the fatty tissue just under your skin.
Needle length differs between routes: intramuscular needles are longer (usually 1 to 1.5 inches), subcutaneous needles shorter (usually 0.5 inches).
Administering the Injection Step by Step
Step 1: Position yourself comfortably. Sit or lie down. Tense muscles make injection painful.
Step 2: Remove the needle cover. Hold the syringe like a dart.
Step 4: Check for blood. Pull the plunger back slightly.
Step 6: Remove the needle. Once the syringe is empty, pull the needle straight out.
Step 7: Dispose of the needle. Place the used needle and syringe in your sharps container immediately.
B12 Injection Side Effects and When to Seek Help
Most people tolerate B12 injections well, but knowing what is normal versus what is an emergency matters. This section covers the reaction timeline, warning signs requiring urgent care, and contraindications to confirm with your prescriber.
Common Reactions and Their Timeline
Mild reactions are the norm. They typically fall into three windows:
- Immediately after injection (0-30 minutes). A warm, flushed feeling, mild lightheadedness, or a metallic taste. These are usually harmless and resolve within minutes. Sit down, drink water, and do not drive until the feeling passes.
- First 24-48 hours. Soreness at the injection site, a small red bump, or mild bruising. A cold compress for 10-15 minutes can reduce swelling. Avoid rubbing the site, which can spread irritation.
- 3-7 days. A firm, slightly tender lump at the injection site. This is usually a small hematoma or localized inflammation and typically fades on its own. If it grows, becomes hot, or develops pus, treat it as a possible infection.
These reactions do not mean the injection failed or that you did something wrong. They are the body's normal response to a needle and a small volume of fluid.
Allergy Warning Signs and Contraindications
Before your first injection, tell your prescriber about any history of allergic reactions to injections, cobalt, or any ingredient in the B12 formulation. Some formulations contain preservatives such as benzyl alcohol, which some patients react to rather than the B12 itself.
Watch for these signs of a developing allergic reaction, which can appear within minutes to a few hours:
- Hives, itching, or a spreading rash
- Swelling of the lips, tongue, or face
- Tightness in the throat or a change in voice
Do not self-inject if you have an active infection, a bleeding disorder, or are taking a blood thinner without your prescriber's clearance. These conditions change the risk profile of any injection.
When to Stop and Contact Your Prescriber
Some reactions are not emergencies but still warrant a call before your next dose:
- Persistent pain, numbness, or tingling that lasts more than a few days
- A lump that is growing, hot to the touch, or draining
- Fever above 100.4°F (38°C)
When to Seek Emergency Care
Go to the nearest emergency room or call 911 for any of the following:
- Difficulty breathing, chest pain, or a racing heartbeat
- Swelling of the face, lips, tongue, or throat
- Severe dizziness, fainting, or loss of consciousness
These events are rare but time-sensitive. Do not drive yourself if you are experiencing any of them.
How to Dispose of Needles After an Injection
Proper needle disposal protects you, your family, and sanitation workers from needle-stick injuries.
Use a sharps container designed for medical waste, rigid plastic with a puncture-resistant design and a one-way opening.
Place used needles and syringes directly into your sharps container after each injection.
When your sharps container is three-quarters full, seal it per the manufacturer's instructions, many have a locking mechanism.
Check local regulations for sharps disposal.
Storage, Safety, and Common Mistakes to Avoid
How you store and handle your B12 between injections is as important as how you inject it. A vial that has been frozen, overheated, or left open too long can lose potency or become contaminated, and no amount of correct technique will fix that.
Storing B12 Vials Correctly
Most cyanocobalamin and methylcobalamin vials should be refrigerated between 36°F and 46°F (2°C to 8°C). Check your vial's label, since storage instructions vary by manufacturer and formulation.
- Do not freeze. Freezing can damage the B12 molecule and separate the solution. Do not use a vial that has been frozen.
- Protect from light. Keep the vial in its original carton. Light exposure degrades B12 over time.
- Keep the stopper clean. Wipe the rubber stopper with an alcohol swab before every puncture, and never leave the vial uncapped on a counter.
Checking Expiration and Inspecting the Vial
Before every injection, do a 10-second inspection:
- Check the expiration date. Expired medication may be less potent, and sterility is not guaranteed past the date.
- Look at the solution. It should be clear and pink to red in color. Cloudiness, particles, or a color change means do not use it.
- Check the stopper. A cracked, torn, or leaking stopper means the vial is no longer sterile. Discard it.
- Check the crimp ring. If the metal seal is loose or missing, the vial may have been tampered with. Do not use it.
If anything looks wrong, do not inject it. Contact your pharmacist for a replacement. Do not try to filter, dilute, or "save" a compromised vial.
Common Mistakes That Cause Real Harm
- Skipping hand hygiene. Wash with soap and warm water for at least 20 seconds, then dry completely. Moisture reintroduces bacteria.
- Reusing a needle or syringe. Each is single-use. Reused needles dull, bend, and carry contamination risk.
- Recapping the needle. Recapping is the leading cause of needle-stick injuries. Drop the needle directly into the sharps container.
When to Stop and Call Your Prescriber
Stop and call your prescriber if you cannot confirm your dose, route, or schedule; if your vial looks abnormal; if a reaction does not resolve; or if you are unsure the injection was delivered correctly. It is always safer to pause and ask than to guess.
At Buy-Otc.com, we understand that managing your own injections takes practice.
Frequently Asked Questions
Can you safely give yourself a B12 injection at home?
Yes, you can safely self-administer B12 injections at home if you follow your healthcare provider's instructions carefully. Many people with B12 deficiency manage their own injections using prescribed medication. The key is proper training, using sterile supplies, following the correct injection technique, rotating injection sites, and knowing when to contact your doctor. Always confirm your dose, formulation, and injection route with your healthcare provider before starting.
What supplies do you need for a B12 injection?
You'll need a B12 vial with your prescribed medication, sterile syringes, appropriate needles (typically 25-gauge for intramuscular or 27-gauge for subcutaneous), alcohol swabs for skin preparation, a sharps container for needle disposal, and gauze or a bandage for the injection site. Your healthcare provider or pharmacist can confirm the exact needle gauge and syringe size for your prescribed injection route. Buy-Otc.com carries B12 injections, needles, and related supplies.
Where should you inject a B12 shot?
Common B12 injection sites include the upper arm (deltoid), outer thigh (quadriceps), or buttocks (gluteus maximus). Your healthcare provider will specify which site based on whether you need an intramuscular or subcutaneous injection. Rotate between sites to prevent irritation, bruising, or infection. For intramuscular injections, the deltoid and upper outer quadriceps are typical; for subcutaneous, the thigh or abdomen work well. Always clean the skin with an alcohol swab before injecting.
What should you do after a B12 injection?
After injecting, apply light pressure with gauze for a few seconds, then cover the site with a bandage if needed. Dispose of the needle immediately in a sharps container (never throw it in regular trash). Store your B12 vial according to package instructions, usually in a cool, dark place or refrigerated. Monitor the injection site for redness, swelling, or infection over the next few days. If you experience severe pain, allergic reactions, or signs of infection, contact your healthcare provider. Most people experience no serious side effects.